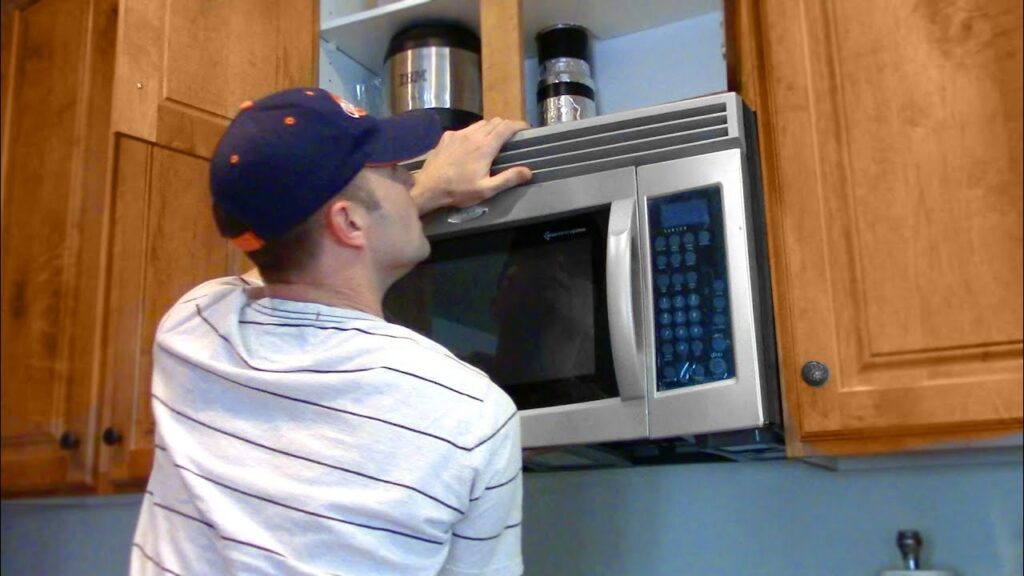
How to Install a Microwave Installing a microwave can seem like a daunting task, but with the right tools and instructions, you can easily accomplish it yourself. This guide will walk you through the entire process, from preparation to installation.
Tools and Materials Needed
- Microwave
- Mounting template (usually included with the microwave)
- Mounting bracket (usually included with the microwave)
- Power drill
- Drill bits
- Measuring tape
- Level
- Stud finder
- Screwdriver
- Screws (usually included with the microwave)
- Toggle bolts (if needed)
- Pencil

Step-by-Step Instructions
1. Preparation
- Read the Manual: Before you start, carefully read the installation manual that comes with your microwave. Each model may have specific requirements and instructions.
- Gather Tools and Materials: Ensure you have all the necessary tools and materials before you begin.
- Choose a Location: The microwave should be installed over a range or on a countertop. Ensure there is an electrical outlet nearby.
2. Find and Mark the Studs
- Use a Stud Finder: Locate the studs in the wall where you plan to install the microwave.
- Mark the Studs: Use a pencil to mark the locations of the studs. This is where you’ll be attaching the mounting bracket.
3. Install the Mounting Bracket
- Position the Template: Tape the mounting template to the wall according to the instructions in the manual. This template will show you where to drill holes.
- Drill Pilot Holes: Using a drill bit suitable for your wall type, drill pilot holes at the marked locations.
- Attach the Bracket: Secure the mounting bracket to the wall using screws. Ensure the bracket is level before fully tightening the screws.

4. Prepare the Microwave
- Remove Any Packaging: Remove any protective packaging and accessories from the microwave.
- Attach the Top Template: If your microwave requires holes to be drilled in the upper cabinet for ventilation or power cord, position and tape the top template to the bottom of the cabinet.
- Drill Holes: Drill the necessary holes in the bottom of the cabinet.
5. Mount the Microwave
- Position the Microwave: With the help of another person, lift the microwave and align it with the mounting bracket.
- Secure the Microwave: Tilt the microwave forward and hook it onto the mounting bracket. Ensure it is securely attached.
- Insert Screws: Insert screws through the holes in the top of the microwave into the bottom of the cabinet. Tighten the screws to secure the microwave in place.
6. Connect the Power
- Plug in the Microwave: Plug the microwave into the electrical outlet.
- Test the Microwave: Turn on the microwave to ensure it is working properly.
Safety Tips
- Turn Off Power: Always turn off the power to the area where you are working to avoid electrical shock.
- Follow Instructions: Adhere strictly to the instructions provided in the microwave’s installation manual.
- Use Proper Tools: Using the correct tools and materials ensures a secure installation.
Troubleshooting
- Microwave Not Powering On: Check the electrical outlet and ensure the microwave is properly plugged in.
- Microwave Not Level: Adjust the screws and bracket to ensure the microwave is level.
- No Ventilation: Ensure you have drilled the necessary ventilation holes if required by your microwave model.
Conclusion
Installing a microwave is a manageable DIY project if you follow the proper steps and precautions. By carefully preparing, using the right tools, and following the instructions, you can successfully install your microwave and enjoy its convenience.
By following these detailed instructions, you can confidently install your microwave, saving time and possibly the cost of professional installation.
Read Also. DIY Driveway Gates | Top 16 Ideas to Try

