How long does it take to drain a water heater?Draining a water heater is a crucial maintenance task that helps remove sediment buildup and prolong the life of your appliance.
The process typically takes around 1 to 2 hours, depending on various factors such as the size of the water heater, the amount of sediment present, and your familiarity with the procedure.
In this comprehensive guide, I’ll walk you through the step-by-step process of draining a water heater, providing detailed explanations along the way.
Introduction
Water heaters are essential appliances in households, providing hot water for bathing, cooking, and cleaning. Over time, mineral deposits and sediment can accumulate at the bottom of the tank, reducing its efficiency and potentially causing damage. Draining the water heater helps flush out these sediments, ensuring optimal performance and prolonging its lifespan.

Preparing for Drainage
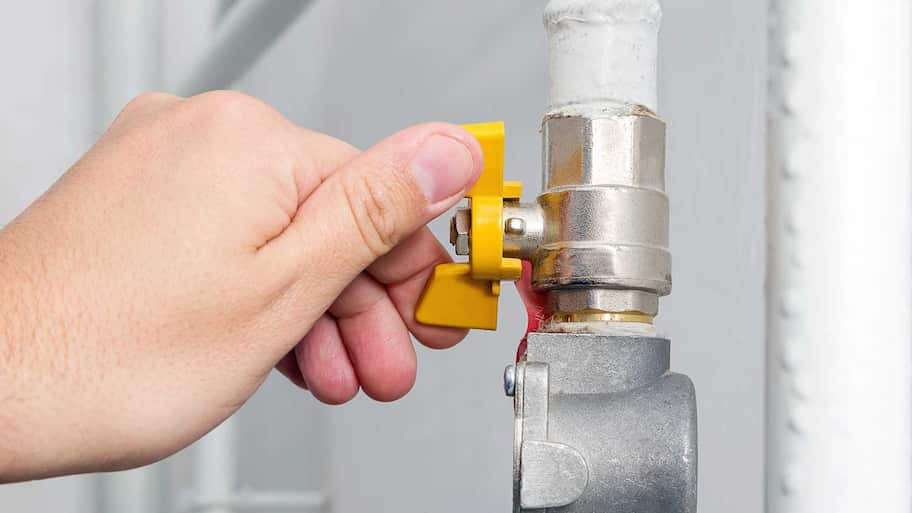
- Safety First: Before starting, ensure safety by turning off the power supply to the water heater. For electric heaters, switch off the circuit breaker, and for gas heaters, set the thermostat to the “pilot” position.
- Gather Supplies: You’ll need a few tools and materials for this task, including a garden hose, screwdriver, wrench, gloves, and a bucket or drainage area.
- Identify Location: Locate the drain valve at the base of the water heater. It’s typically a brass or plastic valve with a hose connection.
Step-by-Step Drainage Process
1. Turn Off Water Supply
- Locate the cold water inlet valve, usually located near the top of the water heater.
- Turn the valve clockwise to shut off the water supply to the heater.
2. Relieve Pressure
- Open a hot water faucet in the house to relieve pressure in the tank.
- Leave it open throughout the drainage process.
3. Attach Hose to Drain Valve
- Connect one end of the garden hose to the drain valve at the base of the water heater.
- Ensure the other end of the hose is directed to a suitable drainage area or floor drain.
4. Open Pressure Relief Valve
- Lift the lever on the pressure relief valve to allow air into the tank, aiding in drainage.
5. Open Drain Valve
- Using a wrench or screwdriver, turn the drain valve counterclockwise to open it.
- Allow the water to flow out through the hose. Monitor the process and adjust the hose if needed to prevent spills.
6. Flush Sediment
- As the water drains, sediment may come out. This is normal and indicates that the flushing process is working.
- Continue draining until the water runs clear, indicating that most of the sediment has been flushed out.
7. Close Drain Valve
- Once the water runs clear, close the drain valve by turning it clockwise until snug.
8. Refill the Tank
- Disconnect the hose from the drain valve.
- Turn on the cold water inlet valve to refill the tank.
- Keep the hot water faucet open to purge air from the system.
- Once water flows steadily from the faucet, close it.
-

how long does it take to drain a water heater?
9. Restore Power
- For electric heaters, turn the circuit breaker back on.
- For gas heaters, set the thermostat to the desired temperature.
Final Stepsws
- Check for Leaks: Inspect the drain valve and connections for any leaks. Tighten if necessary.
- Monitor Performance: Pay attention to the water heater’s performance over the next few days. Improved efficiency and faster heating are signs that the maintenance was successful.
- Schedule Regular Maintenance: Make draining and flushing your water heater a part of your regular maintenance routine. This helps prevent sediment buildup and ensures the longevity of your appliance.
Conclusion
Draining your water heater is a relatively simple yet essential task that can significantly extend its lifespan and improve its efficiency. By following the steps outlined in this guide and performing regular maintenance, you can ensure that your water heater continues to provide reliable hot water for years to come. Remember to prioritize safety throughout the process and seek professional assistance if needed.
Read Also. Shutter Tracks and Header Types | Amazing Guide